
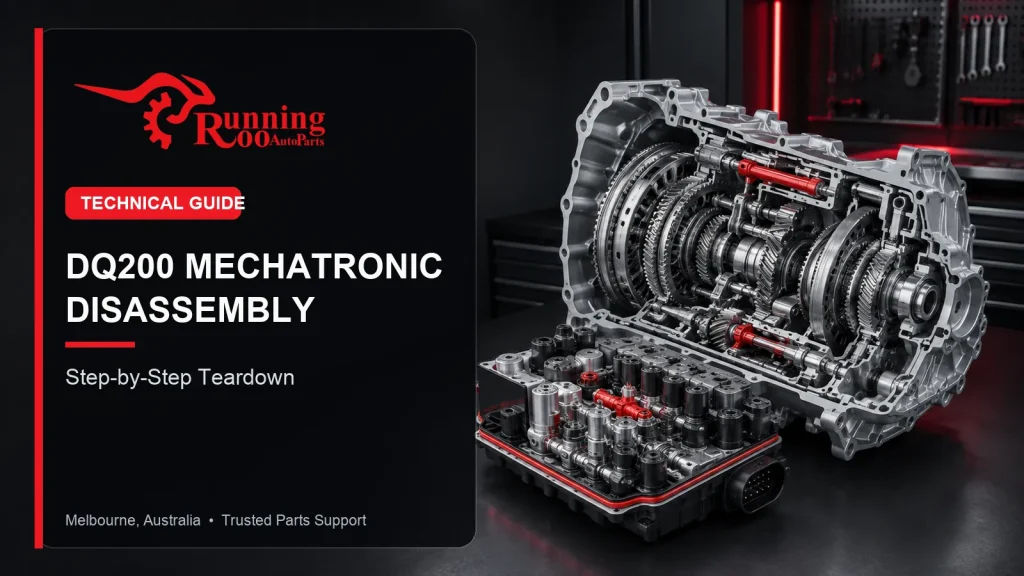
G’day everyone. I’m the Senior Product Manager here at RunningRoo Auto Parts, Australia’s trusted aftermarket automotive parts specialist. The DQ200 mechatronic is a precision assembly of electronics and hydraulics, and understanding how it comes apart is useful whether you are planning a repair yourself or simply want to understand what your workshop is doing. In this article I’ll walk through the disassembly of the DQ200 mechatronic in plain terms, the tools involved, and the warnings that matter.
This is an overview for understanding the job, not a substitute for a factory service manual. All prices are in Australian dollars and are indicative.
If you’d rather talk to a real person about your own gearbox before reading further, our Melbourne-based team is always available:
RunningRoo Auto Parts – Based in Melbourne, Australia 🇦🇺
Free 24/7 Pickup Available (by appointment)
Any questions? Call us anytime: 0425 890 125
Why Choose RunningRoo? Aussie Owned & Operated | Fast Shipping | Friendly Support
What is inside the DQ200 mechatronic?
The DQ200 mechatronic combines three systems in one housing: the electronic transmission control module (TCM), the hydraulic valve body with its solenoids, and the sensors that feed the control module. The TCM reads inputs and commands the solenoids, which direct hydraulic pressure to operate the gear selector forks and the clutch actuators.
Because everything is packaged together, a fault in the electronics, a failed solenoid or a worn accumulator all require opening the same unit. That is why a proper diagnosis is so important before disassembly begins.
Tools you will need
A clean, organised workspace is essential for this job, because the mechatronic contains small components, seals and electrical connectors that must be handled carefully. The table below lists the key items.
| Tool / item | Purpose |
|---|---|
| Torx and hex sockets | Remove the mechatronic cover and internal fasteners |
| Trim removal tools | Release electrical connectors without damage |
| Clean lint-free cloths | Protect the hydraulic section from contamination |
| Torque wrench | Refit fasteners to the correct specification |
| Diagnostic tool | Perform adaptation and basic settings after refit |
Cleanliness is critical. Even a small amount of dirt or debris inside the hydraulic section can cause a shifting fault later, so the work should be done on a clean bench with the unit protected whenever it is open.
Step-by-step disassembly outline
The exact sequence varies by vehicle and gearbox version, but the general process is as follows. Always follow the correct procedure for your specific application and disconnect the battery before beginning.
- Access the gearbox. Support the vehicle safely and remove whatever is needed to reach the gearbox and its mechatronic cover.
- Drain the fluid. Drain the appropriate fluid from the mechanical and mechatronic circuits as required for your gearbox.
- Remove the cover. Unbolt the mechatronic cover carefully and set the fasteners aside in order.
- Disconnect the electrical connector. Release the wiring connector without pulling on the wires.
- Remove the mechatronic. Unbolt the unit from the gearbox and lift it out cleanly.
- Separate the sections. If repairing a specific component, separate the TCM board and hydraulic section carefully.
Common mistakes to avoid
The most common mistakes during a DQ200 mechatronic job are all avoidable with care. First, never force an electrical connector, because a broken connector is a costly, avoidable fault. Second, keep every internal component clean and in order, because mixing up solenoids or seals will cause shifting problems. Third, always use a torque wrench, because over-tightening can crack the housing or strip threads.
| Mistake | Consequence |
|---|---|
| Forcing connectors | Broken connector or wiring fault |
| Contamination inside | Hydraulic faults after reassembly |
| Over-tightening | Cracked housing or stripped threads |
| Skipping adaptation | Poor shifting after refit |
The single most important step after reassembly is the diagnostic adaptation and basic settings procedure. Skipping it is one of the most common reasons a “repaired” DQ200 still shifts poorly.
Should you do this job yourself?
Removing and disassembling a DQ200 mechatronic is possible for a careful home mechanic with the right tools and a factory service manual, but it is not a beginner job. The combination of precise torque values, small hydraulic components and the mandatory adaptation procedure means the margin for error is small.
For most owners, the better value is to have a DSG specialist perform the work while you supply a quality aftermarket mechatronic or the specific repair components. That way you keep the parts cost down while ensuring the job is completed and adapted correctly.
Not sure which DQ200 mechatronic components your repair needs? Our Aussie team can confirm the right parts against your VIN over the phone:
RunningRoo Auto Parts – Based in Melbourne, Australia 🇦🇺
Free 24/7 Pickup Available (by appointment)
Any questions? Call us anytime: 0425 890 125
Why Choose RunningRoo? Aussie Owned & Operated | Fast Shipping | Friendly Support
Where to buy DQ200 mechatronic parts
RunningRoo Auto Parts stocks DQ200 mechatronic, valve body and accumulator components with Melbourne pickup and Australia-wide delivery.
- DQ200 0AM Automatic Transmission Valve Body
- Valve Body Accumulator Housing for DSG DQ200
- 0CW DQ200 7-Speed DSG Mechatronic (Valve Body & TCU)
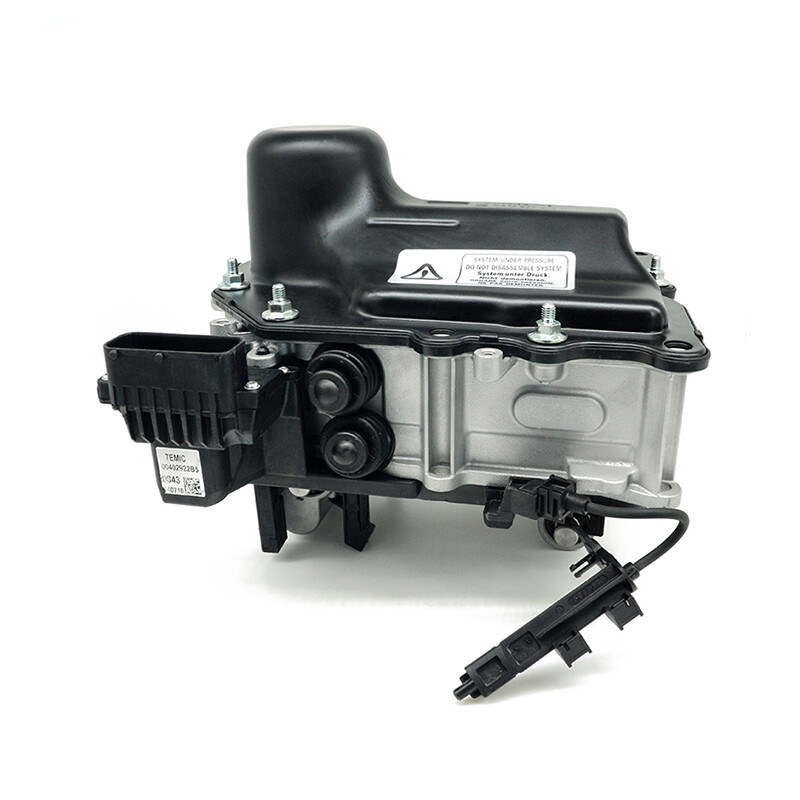
You can also browse the full range on our eBay store: RunningRoo Auto Parts on eBay Australia.
Frequently asked questions
Can I disassemble a DQ200 mechatronic myself?
It is possible with the right tools and a service manual, but it is not a beginner job because of the precision and the mandatory adaptation procedure.
What is inside the DQ200 mechatronic?
The unit combines the electronic transmission control module, the hydraulic valve body with its solenoids, and the sensors that feed the control module.
Why is cleanliness so important?
Even a small amount of dirt inside the hydraulic section can cause shifting faults after reassembly, so the unit must be kept clean and protected whenever it is open.
Do I need to drain the fluid first?
Yes, the appropriate fluid should be drained from the mechanical and mechatronic circuits as required for your gearbox before opening the unit.
What happens if I skip the adaptation?
The gearbox may shift poorly after reassembly, because the clutch and shift points need to be recalibrated with diagnostic software.
What tools do I need?
Torx and hex sockets, trim removal tools, clean cloths, a torque wrench and a diagnostic tool for adaptation are the main items.
Should a specialist do the job instead?
For most owners yes. Supplying quality parts to a DSG specialist is usually the best balance of cost and reliability.
Summary
Disassembling a DQ200 mechatronic is a precise job that rewards patience and punishes shortcuts. The key risks are broken connectors, contamination, over-tightening and skipping the final adaptation, all of which are avoidable with care.
Whether you do it yourself or use a specialist, quality parts and a clean, methodical approach are what separate a repair that lasts from one that fails again.
References
Key data in this article is drawn from the following official manufacturer sources:
- Volkswagen Group — DQ200 DSG7 mechatronic service and disassembly documentation.
- Volkswagen Group — DQ200 adaptation and basic-settings procedure information.