
By RunningRoo Auto Parts — written from the desk of our Product Manager
When a DQ200 starts shifting badly, showing a gearbox warning or refusing to move, the internet will happily tell you the fix is a cheap “mechatronic repair kit” and an afternoon in the shed. The reality is more nuanced. Some DQ200 faults are genuinely repairable at home by a careful DIYer with the right tools; others are not realistically fixable outside a specialist workshop, and attempting them can turn a repairable unit into a paperweight. As the product manager for RunningRoo, I speak to Australian owners every week who are weighing exactly this decision, and this guide lays out the honest picture so you can choose well.
RunningRoo Auto Parts – Based in Melbourne, Australia 🇦🇺
Free 24/7 Pickup Available (Contact 0425890125)
Any questions? Message or Call us anytime! We’re here to help.
Why Choose RunningRoo?
Aussie Owned & Operated | Fast Shipping | Friendly Support
What “TCM repair” actually means on a DQ200
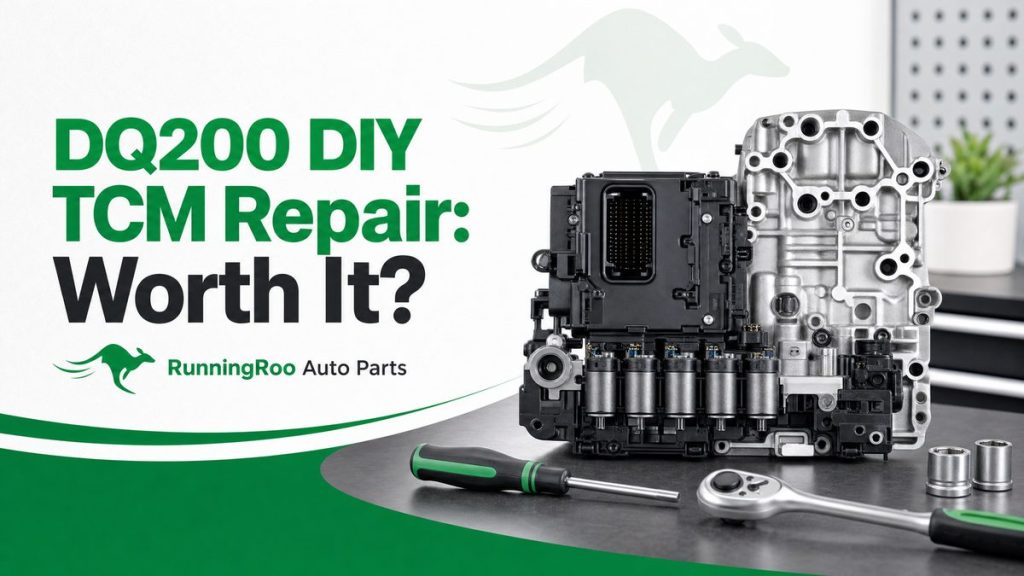
On the DQ200, the TCM is not a separate box you can simply unplug and post away. It is the electronic brain mounted directly to the electro-hydraulic mechatronic unit, and the two are usually supplied and rebuilt together. “Repairing the TCM” can therefore mean one of several very different jobs: repairing the electronic board itself, replacing a failed hydraulic accumulator, rebuilding the valve body, or fitting a complete remanufactured mechatronic assembly.
The correct repair depends entirely on the fault code and symptoms. A pressure fault pointing to the accumulator is a hydraulic repair. A “lost communication” or coding fault is an electronic repair. Judder and flare during shifts can be a clutch, valve-body or adaptation issue rather than the TCM at all. The first rule of DIY is diagnosis: you cannot repair what you have not accurately identified.
What a realistic DIY DQ200 repair involves
Working on the DQ200 mechatronic is not a beginner’s job, but it is achievable for an experienced home mechanic. The gearbox sits low in the vehicle, and reaching the mechatronic usually means safely supporting the car, draining the gearbox and mechatronic oil, removing the undertray and often unbolting brackets, connectors and covers to access the unit. The mechatronic is then unbolted and carefully removed with the shift forks.
The tools that matter are a good diagnostic scanner (VCDS or an equivalent that can read VW transmission controllers), torque wrenches, triple-square and Torx sockets, a clean work area and a means of bench-testing or at least safely powering the unit. Cleanliness is critical: the DQ200 hydraulic circuits are tightly toleranced, and a single particle of grit can cause a sticking valve or a repeat failure. You will also need the correct mechatronic oil and a fill procedure, because the DQ200 has a separate hydraulic oil circuit from the gear oil.
It is also worth being honest about the electronics. Many DQ200 board faults involve surface-mount components, conformal coating and proprietary firmware. Unless you have board-level electronics experience and the correct components, “repairing the TCU board” is rarely a realistic DIY task, which is why most home repairs stop at the mechanical and hydraulic level.
Which DQ200 faults can a DIYer realistically fix?
The table below separates the jobs that suit a careful home mechanic from the ones that genuinely belong in a specialist workshop.
| Fault type | Typical symptom | DIY-friendly? | Why |
|---|---|---|---|
| Mechatronic oil change | Rough shifts, maintenance item | Yes | Drain, refill and adapt with a scan tool |
| External connector / wiring | Intermittent codes, no comms | Yes | Inspect, clean or repair the harness |
| Accumulator / pressure fault | Loss of drive, pressure codes | Sometimes | Hydraulic work needs cleanliness and the right kit |
| Solenoid or valve-body fault | Jerky shifts, stuck gears | Sometimes | Requires the correct rebuild parts and testing |
| TCU board / component protection | Coding fault, no comms | Rarely | Needs board-level repair and coding tools |
| Clutch pack replacement | Judder, slip, won’t engage | Advanced | Gearbox-out job with specialist tooling |
If your fault is in the top half of that table, a careful DIY approach can save real money. If it is in the bottom half, the cheapest option is usually to avoid the failed attempt and speak to a specialist from the start.
A step-by-step overview of a DIY mechatronic repair
For those tackling a hydraulic repair, the broad sequence looks like this. First, scan the vehicle and record every fault code before touching anything. Second, disconnect the battery, raise and support the car safely, and remove the undertray and any access covers. Third, drain the oils into clean containers and note the condition — glitter in the oil can indicate mechanical damage beyond the mechatronic. Fourth, disconnect the loom and carefully remove the mechatronic with the selector forks. Fifth, carry out the specific repair (for example, replacing the accumulator or rebuilding the valve body) on a clean bench. Sixth, refit, refill with the correct oil and finally run the basic-settings and adaptation routine so the controller re-learns the clutch and fork positions.
Every one of those steps has a hidden trap for the unwary. The fill level and procedure are specific, the bolt sequence matters, and the basic-settings routine is not optional. Skipping the adaptation step after a mechatronic repair is the number one reason a repaired DQ200 still drives badly and ends up at a workshop anyway.
The hidden costs of DIY that nobody mentions
The part price is only one line in the budget. A DIY DQ200 repair typically also needs the diagnostic tool or a paid session with one, the correct mechatronic oil, fresh seals and bolts, and — if anything goes wrong — the cost of recovering the car and paying a specialist to redo the job properly. There is also the value of your own time, and the risk of being without a car for days or weeks while the gearbox is apart on axle stands.
That is not an argument against DIY; it is an argument for planning. Before you start, price the complete job, confirm you have the adaptation tooling, and make sure you can genuinely leave the car off the road for longer than you expect. If any of those three things fails, the “cheap” home repair can end up more expensive than buying a tested, warrantied unit and having a workshop fit it.
A realistic DIY cost breakdown
If you are weighing DIY against a workshop, it helps to see the numbers side by side. A DIY mechatronic repair on a DQ200 typically looks something like this: a quality repair kit or replacement valve body in the low-to-mid hundreds of dollars, the correct mechatronic oil and a filter, fresh seals and one-time-use bolts, and either a purchased diagnostic tool or a paid coding and adaptation session at a specialist. Add in your own time, which for a first attempt can easily be a full weekend, and the gap between DIY and a workshop job is often smaller than the headline part price suggests.
A workshop, by contrast, quotes a single figure that includes the part, the oil, the labour and — critically — the coding and basic settings. What many DIYers discover is that the “saving” shrinks once they pay separately for the adaptation stage, which is not optional. The table below compares the two paths on the items that matter.
| Cost item | DIY approach | Workshop approach |
|---|---|---|
| Mechatronic part / kit | You buy it | Included in the quote |
| Oil, seals, bolts | You buy separately | Included |
| Diagnostic / coding | Tool purchase or paid session | Included |
| Labour | Your own time | Included in the quote |
| Warranty | Parts only (often) | Parts and labour |
| Risk of rework | On you | On the workshop |
None of this makes DIY wrong. It makes it a decision about risk, time and skill rather than a simple question of “which number is smaller”. If you already own the diagnostic gear, have a second car and enjoy the work, DIY can genuinely pay. If any of those is missing, a workshop quote is usually the better overall value.
The most common DIY mistakes
The first mistake is starting without a confirmed diagnosis. Replacing the mechatronic when the real fault is a battery, earth strap, wiring connector or clutch is common and expensive. The second is contamination: opening the hydraulic circuit in a dirty workspace and introducing grit that causes a repeat failure. The third is skipping the basic-settings routine after reassembly, which leaves a mechanically perfect repair driving badly. The fourth is reusing one-time-use bolts and seals, which leads to leaks and, on a sealed hydraulic unit, further trouble.
The thread that runs through all four is impatience. The people who get good results from DIY DQ200 work are the ones who read the procedure first, keep everything clean, torque every bolt, and complete the adaptation properly. If that is not how you work, the job is better left to a specialist from the outset.
When to call a Melbourne specialist
We recommend handing the job to a VW gearbox specialist when the fault is electronic, when component protection or coding is involved, when the diagnosis is not certain, or when the vehicle is your daily driver and you cannot afford downtime. A specialist can bench-test the unit, carry out the repair with the correct parts, and complete the coding and basic settings in one visit. For many owners, that certainty is worth far more than the labour saving of a DIY attempt.
Whichever path you choose, buy the core parts from a supplier who will stand behind them. At RunningRoo we supply tested DQ200 mechatronic units and valve bodies to Australian workshops and home mechanics alike, with clear part numbers and Melbourne-based support.
Frequently asked questions
Can I repair a DQ200 TCM at home?
Some hydraulic and maintenance jobs are realistic for an experienced DIYer, but board-level electronic repair and coding generally require specialist tools and skills. Diagnosis comes first.
Do I need special tools to remove a DQ200 mechatronic?
Yes — triple-square and Torx sockets, torque wrenches, a capable diagnostic tool for adaptation, and a safe way to support the vehicle.
Is it worth buying a mechatronic repair kit?
For the right fault (typically accumulator or valve-body work) a quality repair kit is good value. For electronic or clutch faults, a kit will not fix the problem.
What oil does the DQ200 mechatronic use?
The DQ200 uses a dedicated mechatronic hydraulic oil, separate from the gearbox oil. Always use the correct specification and follow the fill procedure.
Will a repaired unit work without basic settings?
No. The basic-settings and adaptation routine is essential after any mechatronic removal or repair, or the gearbox will shift poorly.
How long does a DIY DQ200 repair take?
Allow a full day for a first-time hydraulic repair, plus time for diagnosis and adaptation. Do not plan to use the car the same day.
Is DIY DQ200 repair cheaper than a workshop?
Not always. Once you add the diagnostic and coding stage, the correct oil and seals, and your own time, the gap often closes. The honest comparison is total cost plus risk, not the part price alone.
What is the most common DIY mistake on a DQ200?
Skipping the basic-settings and adaptation routine after reassembly. A correctly repaired unit will still shift badly if the controller has not re-learned the clutch and fork positions.
Shop the parts mentioned in this guide
- DQ200 0AM Automatic Transmission Valve Body for VW / Audi / Škoda
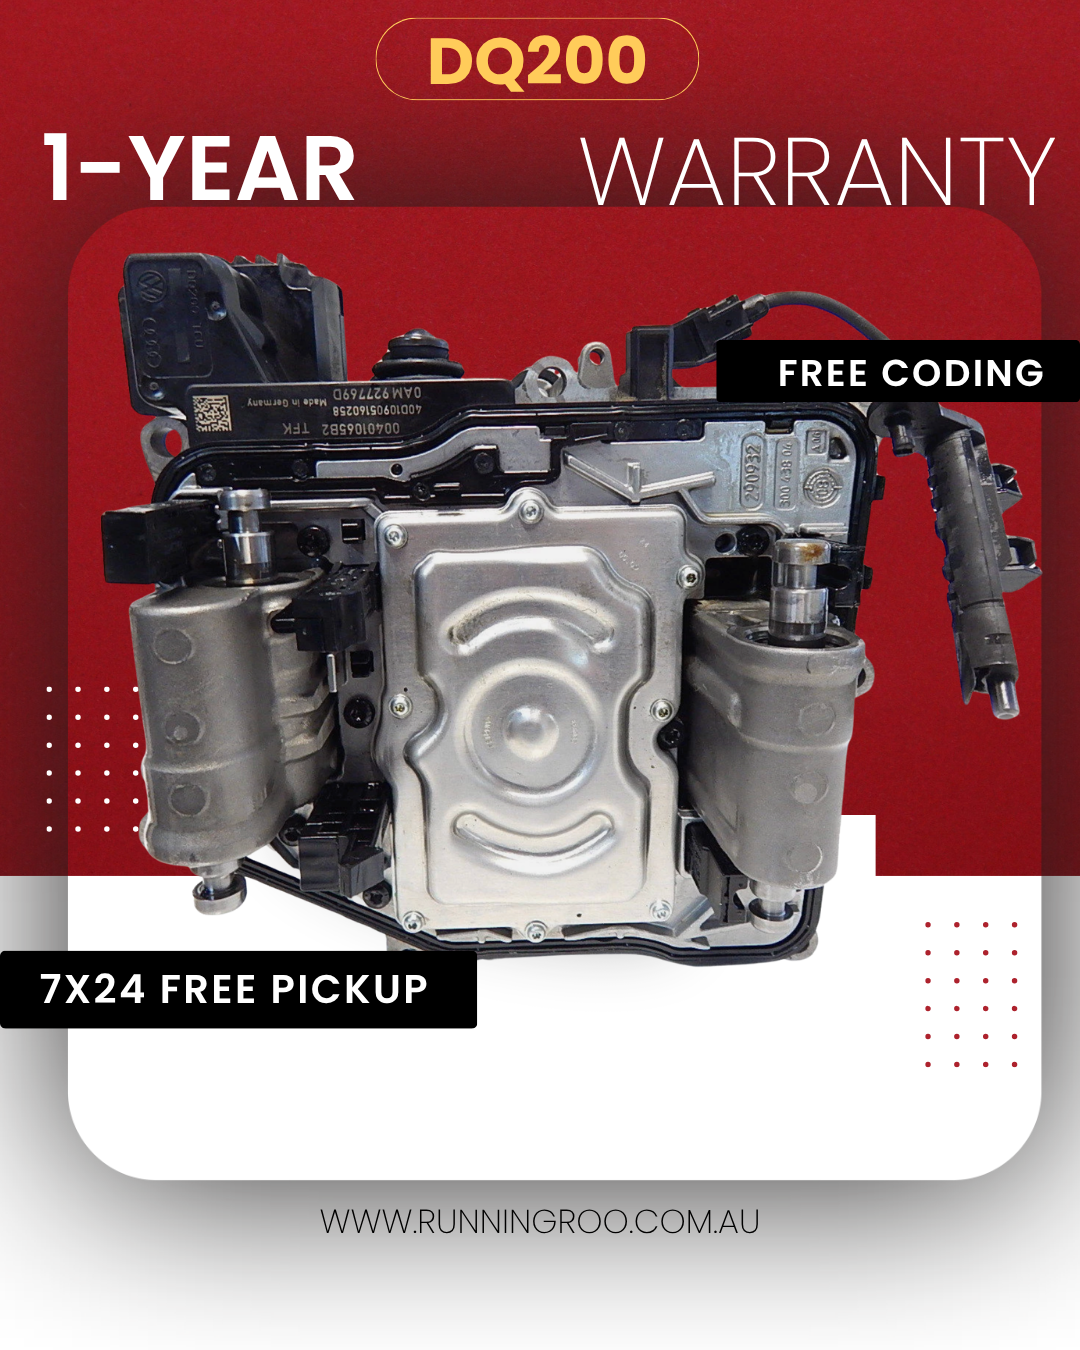
- DQ200 0AM 7-Speed DSG Mechatronic (Valve Body & TCU) — 0AM927769D + programming
- DQ200 0AM 7-Speed DSG Mechatronic (Valve Body & TCU) 0AM927769E + program — eBay
- DQ200 0AM Automatic Transmission Valve Body for VW / Audi / Škoda — eBay
Watch on RunningRooAuto YouTube
- RunningRoo Auto Parts – trusted Melbourne parts support
- RunningRoo Auto Parts – product and fitment channel
RunningRoo Auto Parts – Based in Melbourne, Australia 🇦🇺
Free 24/7 Pickup Available (Contact 0425890125)
Any questions? Message or Call us anytime! We’re here to help.
Why Choose RunningRoo?
Aussie Owned & Operated | Fast Shipping | Friendly Support
Sources and further reading
- Direct-shift gearbox — Wikipedia (DQ200 0AM technical overview)
- BorgWarner — transmission control and dual-clutch systems
- RACV — car maintenance and repair guidance
- Volkswagen Australia
RunningRoo Auto Parts – Based in Melbourne, Australia 🇦🇺
Free 24/7 Pickup Available (Contact 0425890125)
Any questions? Message or Call us anytime! We’re here to help.
Why Choose RunningRoo?
Aussie Owned & Operated | Fast Shipping | Friendly Support